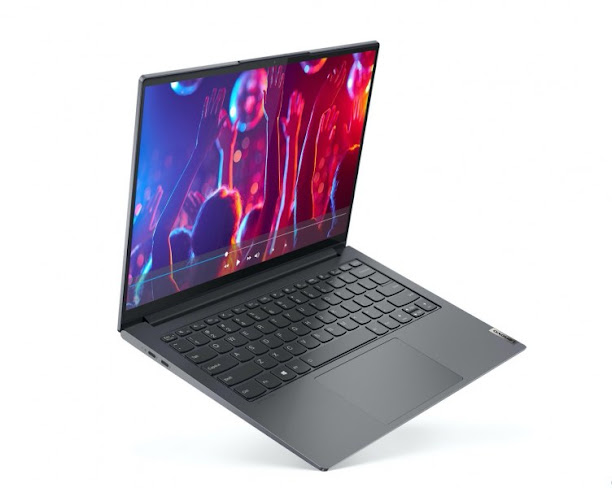
HOW TO RESOLVE THE FLICKERING LIGHT ISSUES ON LENOVO THINKPAD?
Lenovo ThinkPad is premium computing devices that provide a glitch-free experience to users but sometimes ThinkPad users can experience flickering light issues on their device after upgrading their operating system to Windows 10. You may begin to notice continuous flickering, if that’s the case read the information below for solutions.
Want a repair facility for your Lenovo laptop? Lenovo authorised service Centre Melbourne is at your service at all times.
Read this article by Lenovo repair Melbourne to resolve the flickering light issues on your Lenovo ThinkPad now.

STEPS TO RESOLVE THE FLICKERING LIGHT ISSUES ON LENOVO THINKPAD
Step 1: Restart the Lenovo ThinkPad in safe mode.
- On your Windows, open the Start menu and click on the POWER icon from the top.
- Hold down the Shift key and then click on the RESTART option from power options while still pressing down on the Shift key.
- Your ThinkPad will open to a blue screen, Click on the TROUBLESHOOT option from the screen.
- Now, select the ADVANCED OPTIONS from the next screen.
- Choose the STARTUP SETTINGS and click on the RESTART button from the bottom.
- Your Lenovo ThinkPad will open in safe mode on the screen.
Step 2:
- Once the ThinkPad opens in the Safe mode, uninstall the currently installed chipset and Display driver.
- Now, restart your device and install the latest chipset and display diver from the Lenovo support website.
- Look for the Bios and check if the latest updates for Bios for available on the support website.
- In case you find new updates for BIOS, make sure to download and install them before installing the chipset and display driver.
- When all installations are downloaded, restart the Lenovo ThinkPad again.
- Now, open Task manager by pressing and holding CTRL + SHIFT + ESC or CTRL + ALT + DELETE.
- Expand the Task Bar section and then click on the FILE option from the top of the menu panel.
- Choose the RUN NEW TASK option from the drop-down and then check-mark box beside CREATE THIS TASK WITH ADMINISTRATIVE PRIVILEGES.
- Type CMD beside the Open section and click on OK.
- When Command Prompt opens, Type: dism /online /cleanup-image /restore health.
- Hit enter and then type: Sfc /scan now.
- Hit enter again and restart your device once the scan completes.
We hope this resolved your problem, else contact Lenovo service center Melbourne for hardware repairs immediately. We will provide you with alternative steps if necessary, else will provide on-site or remote repair facilities for your Lenovo laptop. Call, email, or chat with our Lenovo repair center Melbourne and get your queries resolved instantly.
Source Code: https://levonorepaircenter.wordpress.com/2021/07/02/how-to-resolve-the-flickering-light-issues-on-lenovo-thinkpad/


Comments
Post a Comment